When was the last time you tried something for the first time?
Welcome to Hey Bernice!
Where you could find yourself cooking a raw food slice one moment, upcycling furniture the next, or re-styling your living room.
Then tomorrow it’s painting…

Focus on creating more moments in your life for exploring…new recipes, colour palettes, artistic pursuits, indoor plants.

Bernice’s (well, mum’s really) famous prawn pate
One of my family’s traditions is my Mum’s famous prawn pate. Everyone goes into a feeding frenzy when she serves this up – it would be considered a crime in our household for Christmas and New Year to pass by without a fix. This recipe could also be handy to use-up any left over prawns…
Keep reading
An Australian Christmas menu…
We recently hosted 17 adults and 9 babies for a Christmas lunch, the perfect way to road-test a new house (especially the kitchen!). The secret to it running smoothly… good preparation (and a kitchen with plenty of bench space and a big oven!). Here’s the menu …
Keep reading
Banana Bran Muffins – both healthy and tasty…
Don’t you just love a good muffin (especially warm, straight from the oven)?
Have you noticed that the definition of a muffin has changed somewhat? Firstly, most of the muffins you can buy in a café are HUGE! A meal for 2 people. Secondly they are no longer healthy. They’re cake mixture in disguise within…
Keep reading
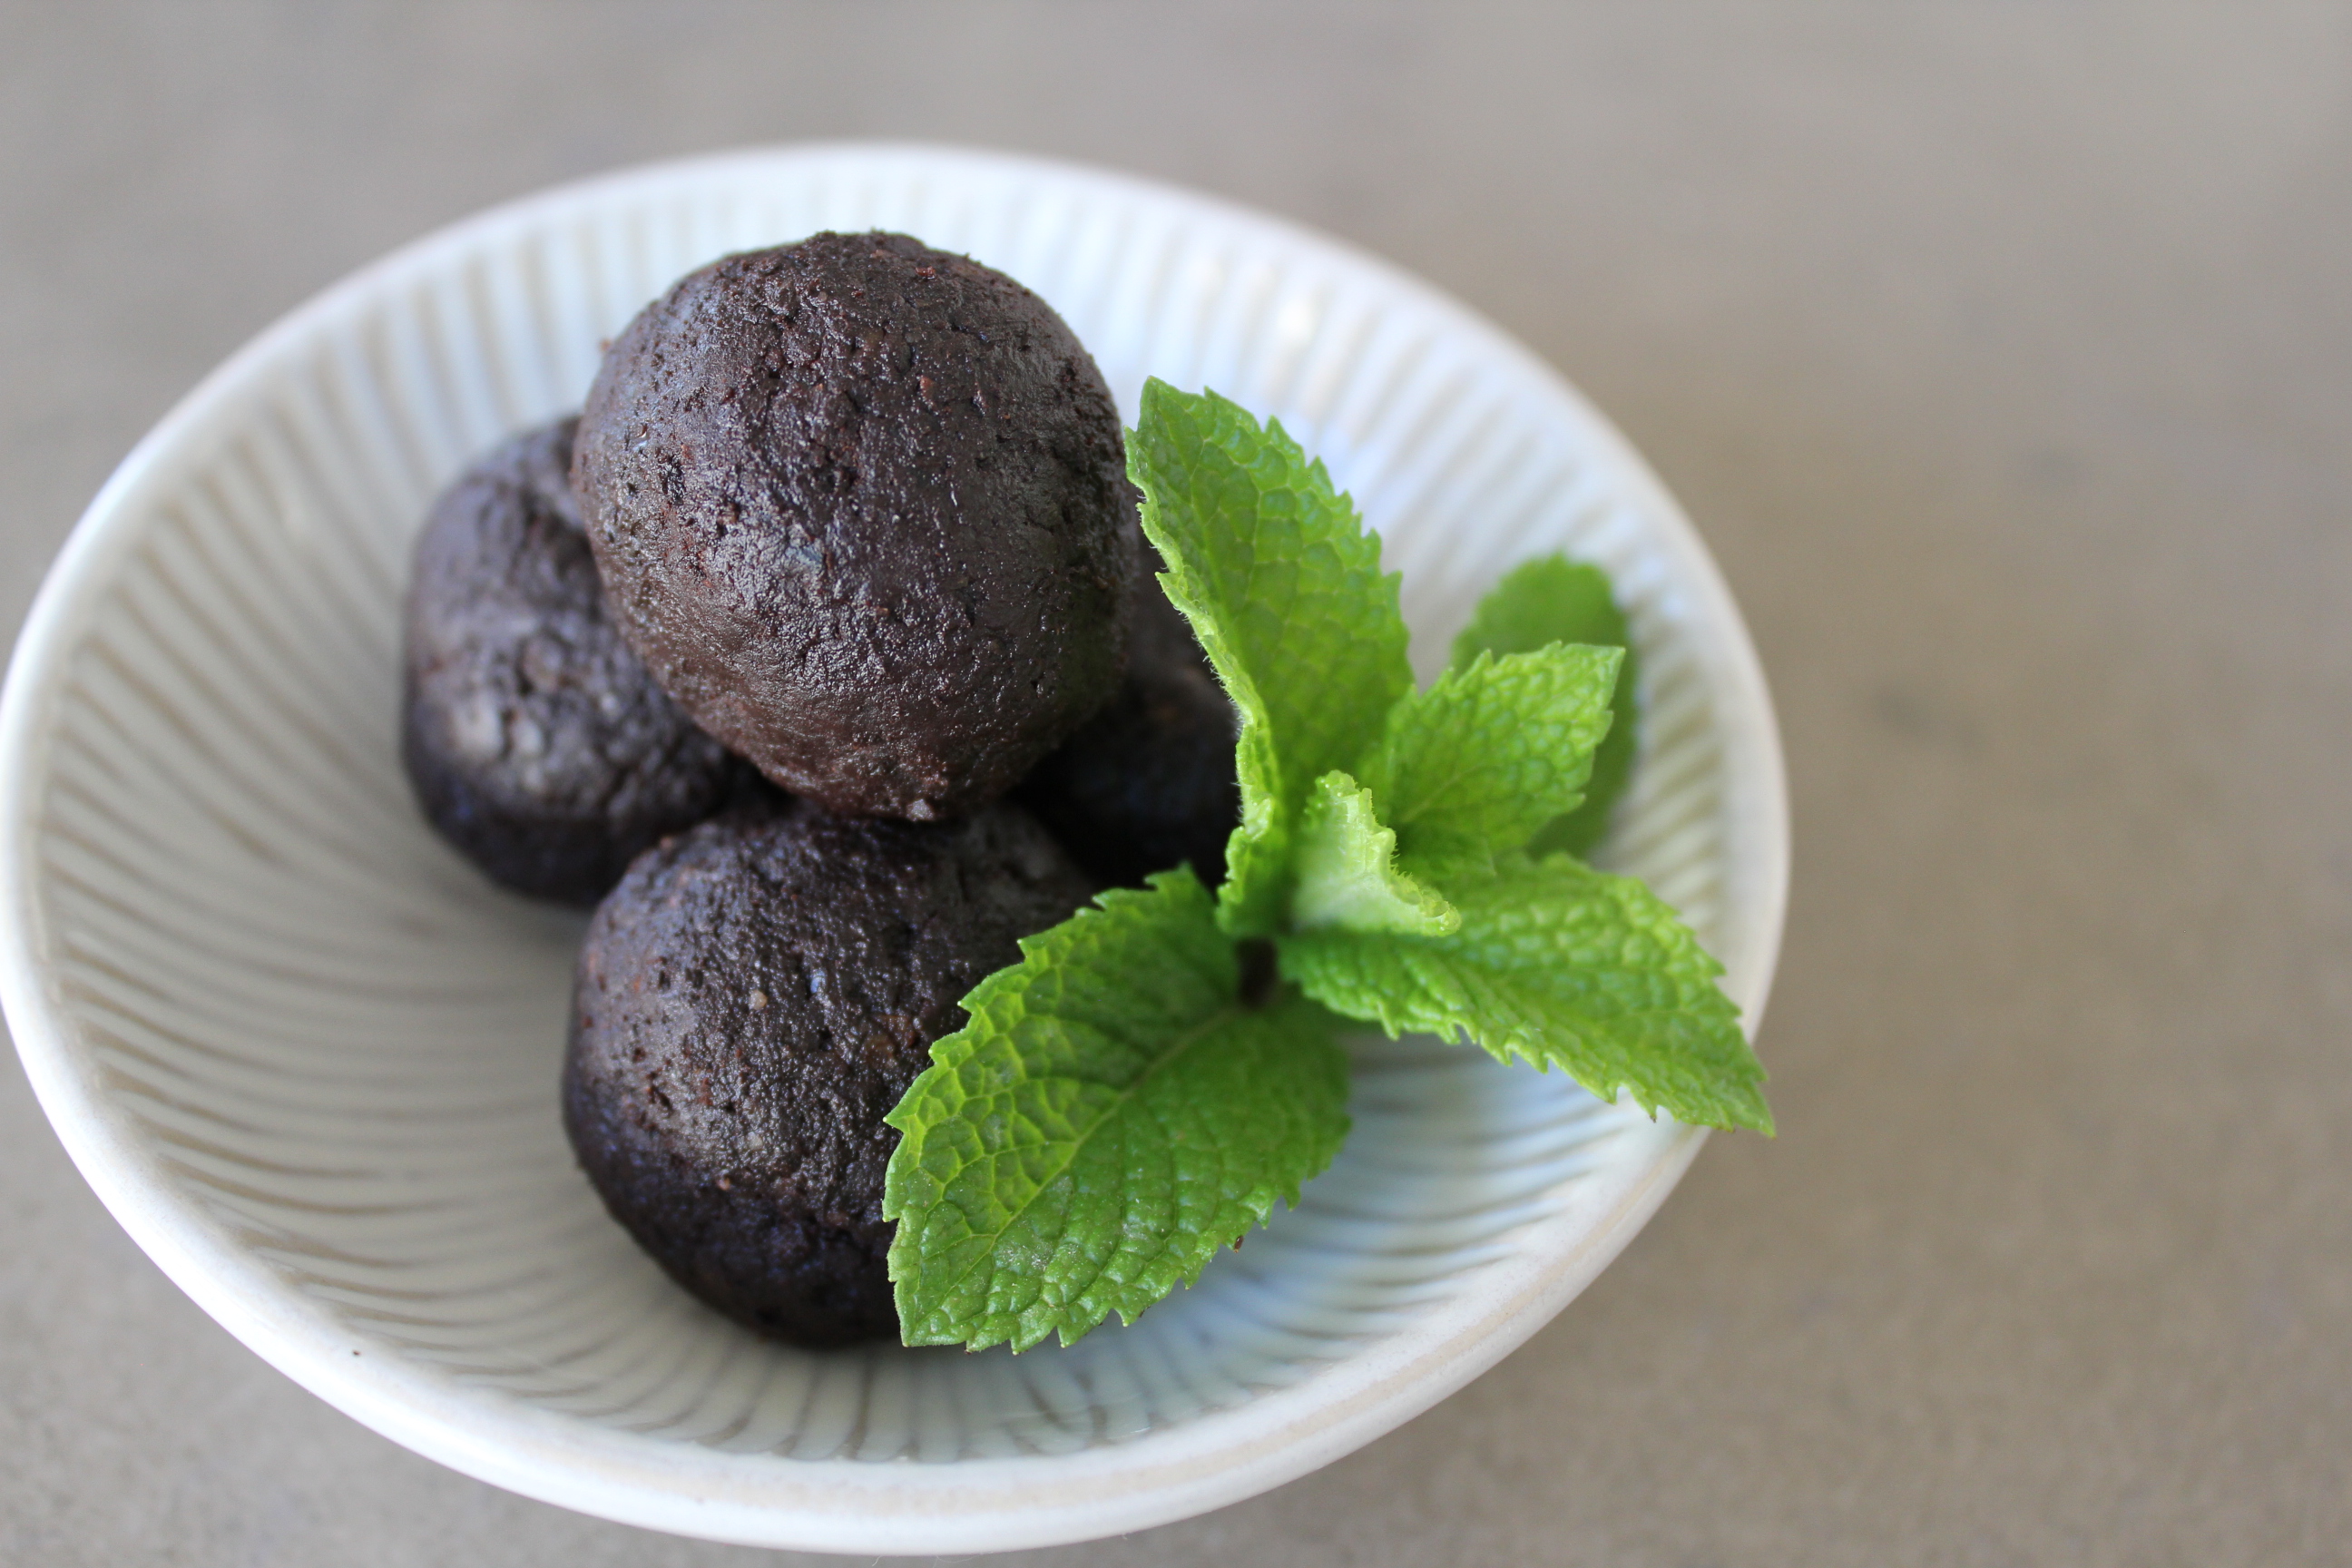
Chocolate brownie for the Paleo, gluten free and dairy free of this world (who love to indulge!)
This brownie is amazing. If you don’t tell people, kids and adults, it’s paleo (Gluten Free, Dairy free and refined sugar free) they would NEVER know, and will be asking for seconds.
Keep reading
Babies, Persian love cakes, rosewater and macaroons…
Although I was up to my neck in dirty nappies and baby vomit (I had a week alone with the two kids whilst my husband traveled interstate for work), I couldn’t let the day come and go without making a bit of a fuss of Heidi.
So we had a small family afternoon tea,…
Keep reading
Robin Red Breast (seed pod) Mobile
I was at mum’s the other day, and on the book shelf were these little, coloured birds placed in an ornamental tree – on closer inspection I realised that these little birds were made from seed pods! Bernice then took over, and began demanding answers – who made those birds? Where did the seed pods…
Keep reading
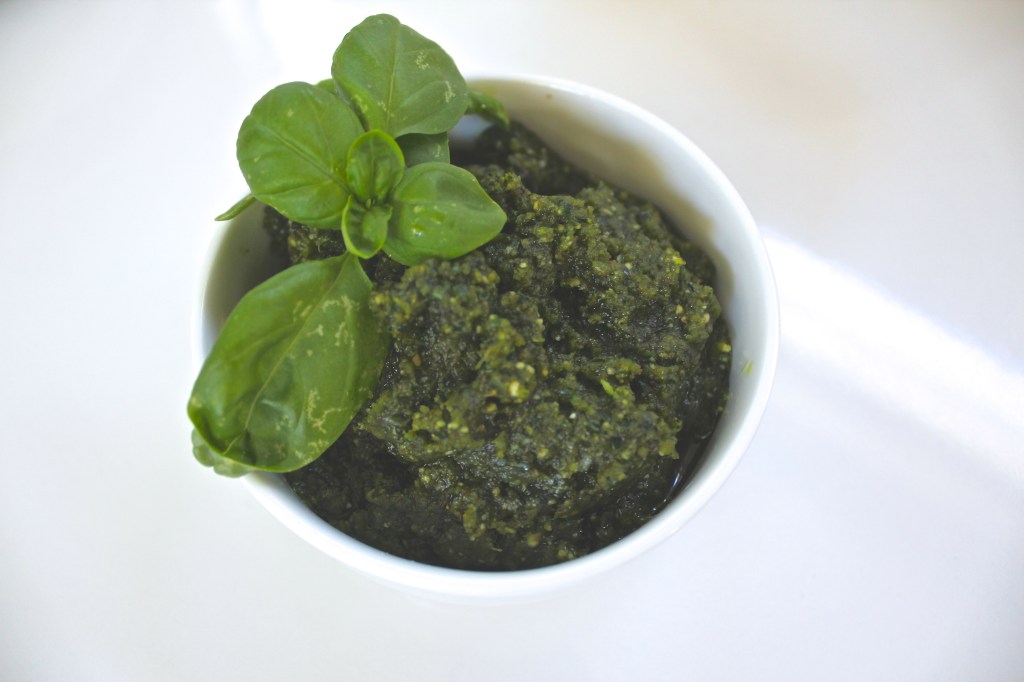
Salad dressing heaven… basil lime vinaigrette
I made this salad dressing on the weekend to serve on the garden salad with lunch. Our guests loved it and asked for the recipe … so here it is.
I must credit the ‘finding’ of this recipe to my parents (I’m not sure which one it was, so will give them both the credit).…
Keep reading
San choy bow (chicken or pork)
My husband and I often cook up san choy bow – it’s a really simple recipe and a healthy meal. We try and make it even healthier by adding a few extra vegetables to the recipe. This is a great meal for those kids that don’t like vegies ’cause it all gets mixed in with…
Keep readingKorean beef burgers… simply amazing!
A few months ago I was trying to explain to my sister how good these burgers are, at the time I didn’t get the kind of focus and acknowledgement I was after. Months down the track she finally got to try them at Mum and Dad’s (Saturday night just gone) and kindly told me on…
Keep reading
A birch tree bunting for the new baby
This birch tree trunk has accompanied us on two house moves…destined to be put to good use ‘one-day’…
That day has now finally arrived. And my husband is thrilled. It was clogging up his garage, apparently.
I have used it as the centre-piece to our new daughter’s nursery (due to arrive in 8 days time).
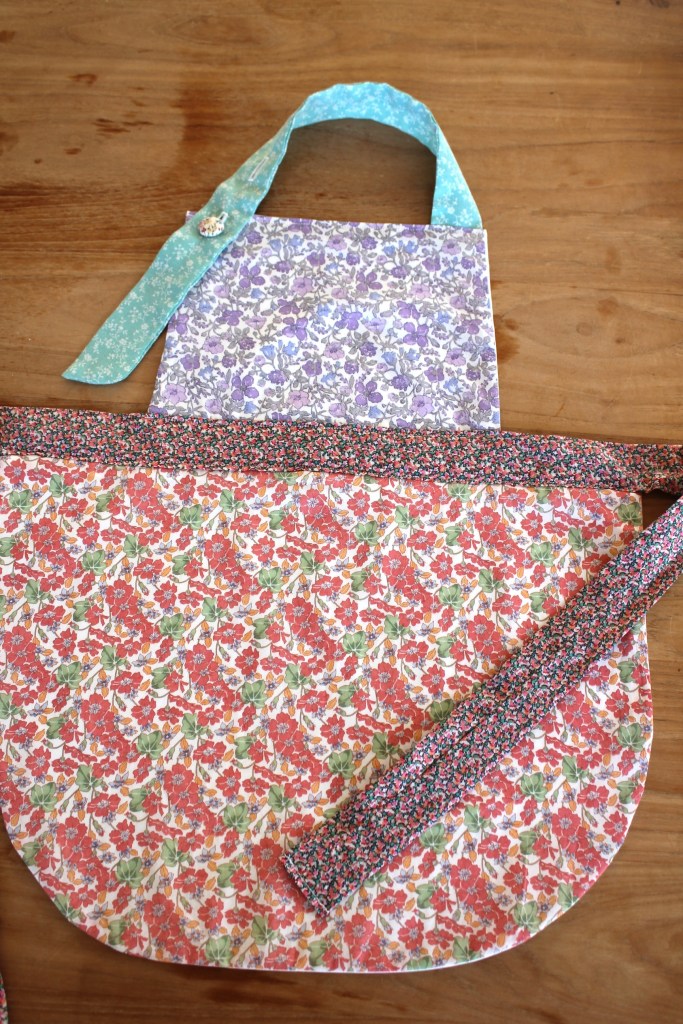
Keep readingUpcycled liberty print apron for my little helper….
An Apron….. that was the obvious use for Gran’s liberty prints.
I didn’t have a pattern, so I took to Pinterest to gather some inspiration on styles, shapes, tying options… You can view my ‘Kids’ Pinterest board here.
Keep readingBinny gets creative