

This birch tree trunk has accompanied us on two house moves…destined to be put to good use ‘one-day’…
That day has now finally arrived. And my husband is thrilled. It was clogging up his garage, apparently.
I have used it as the centre-piece to our new daughter’s nursery (due to arrive in 8 days time).
Once upon a time it was the feature tree in our Melbourne home (front left)…

Sadly we had to cut it down as it had a disease.
Which has resulted in it being upcycled to make a bunting for our new daughter’s room. My vision was to use the birch trunk horizontally to hold several bunting triangles. If you are finding this hard to follow… all will be revealed shortly!
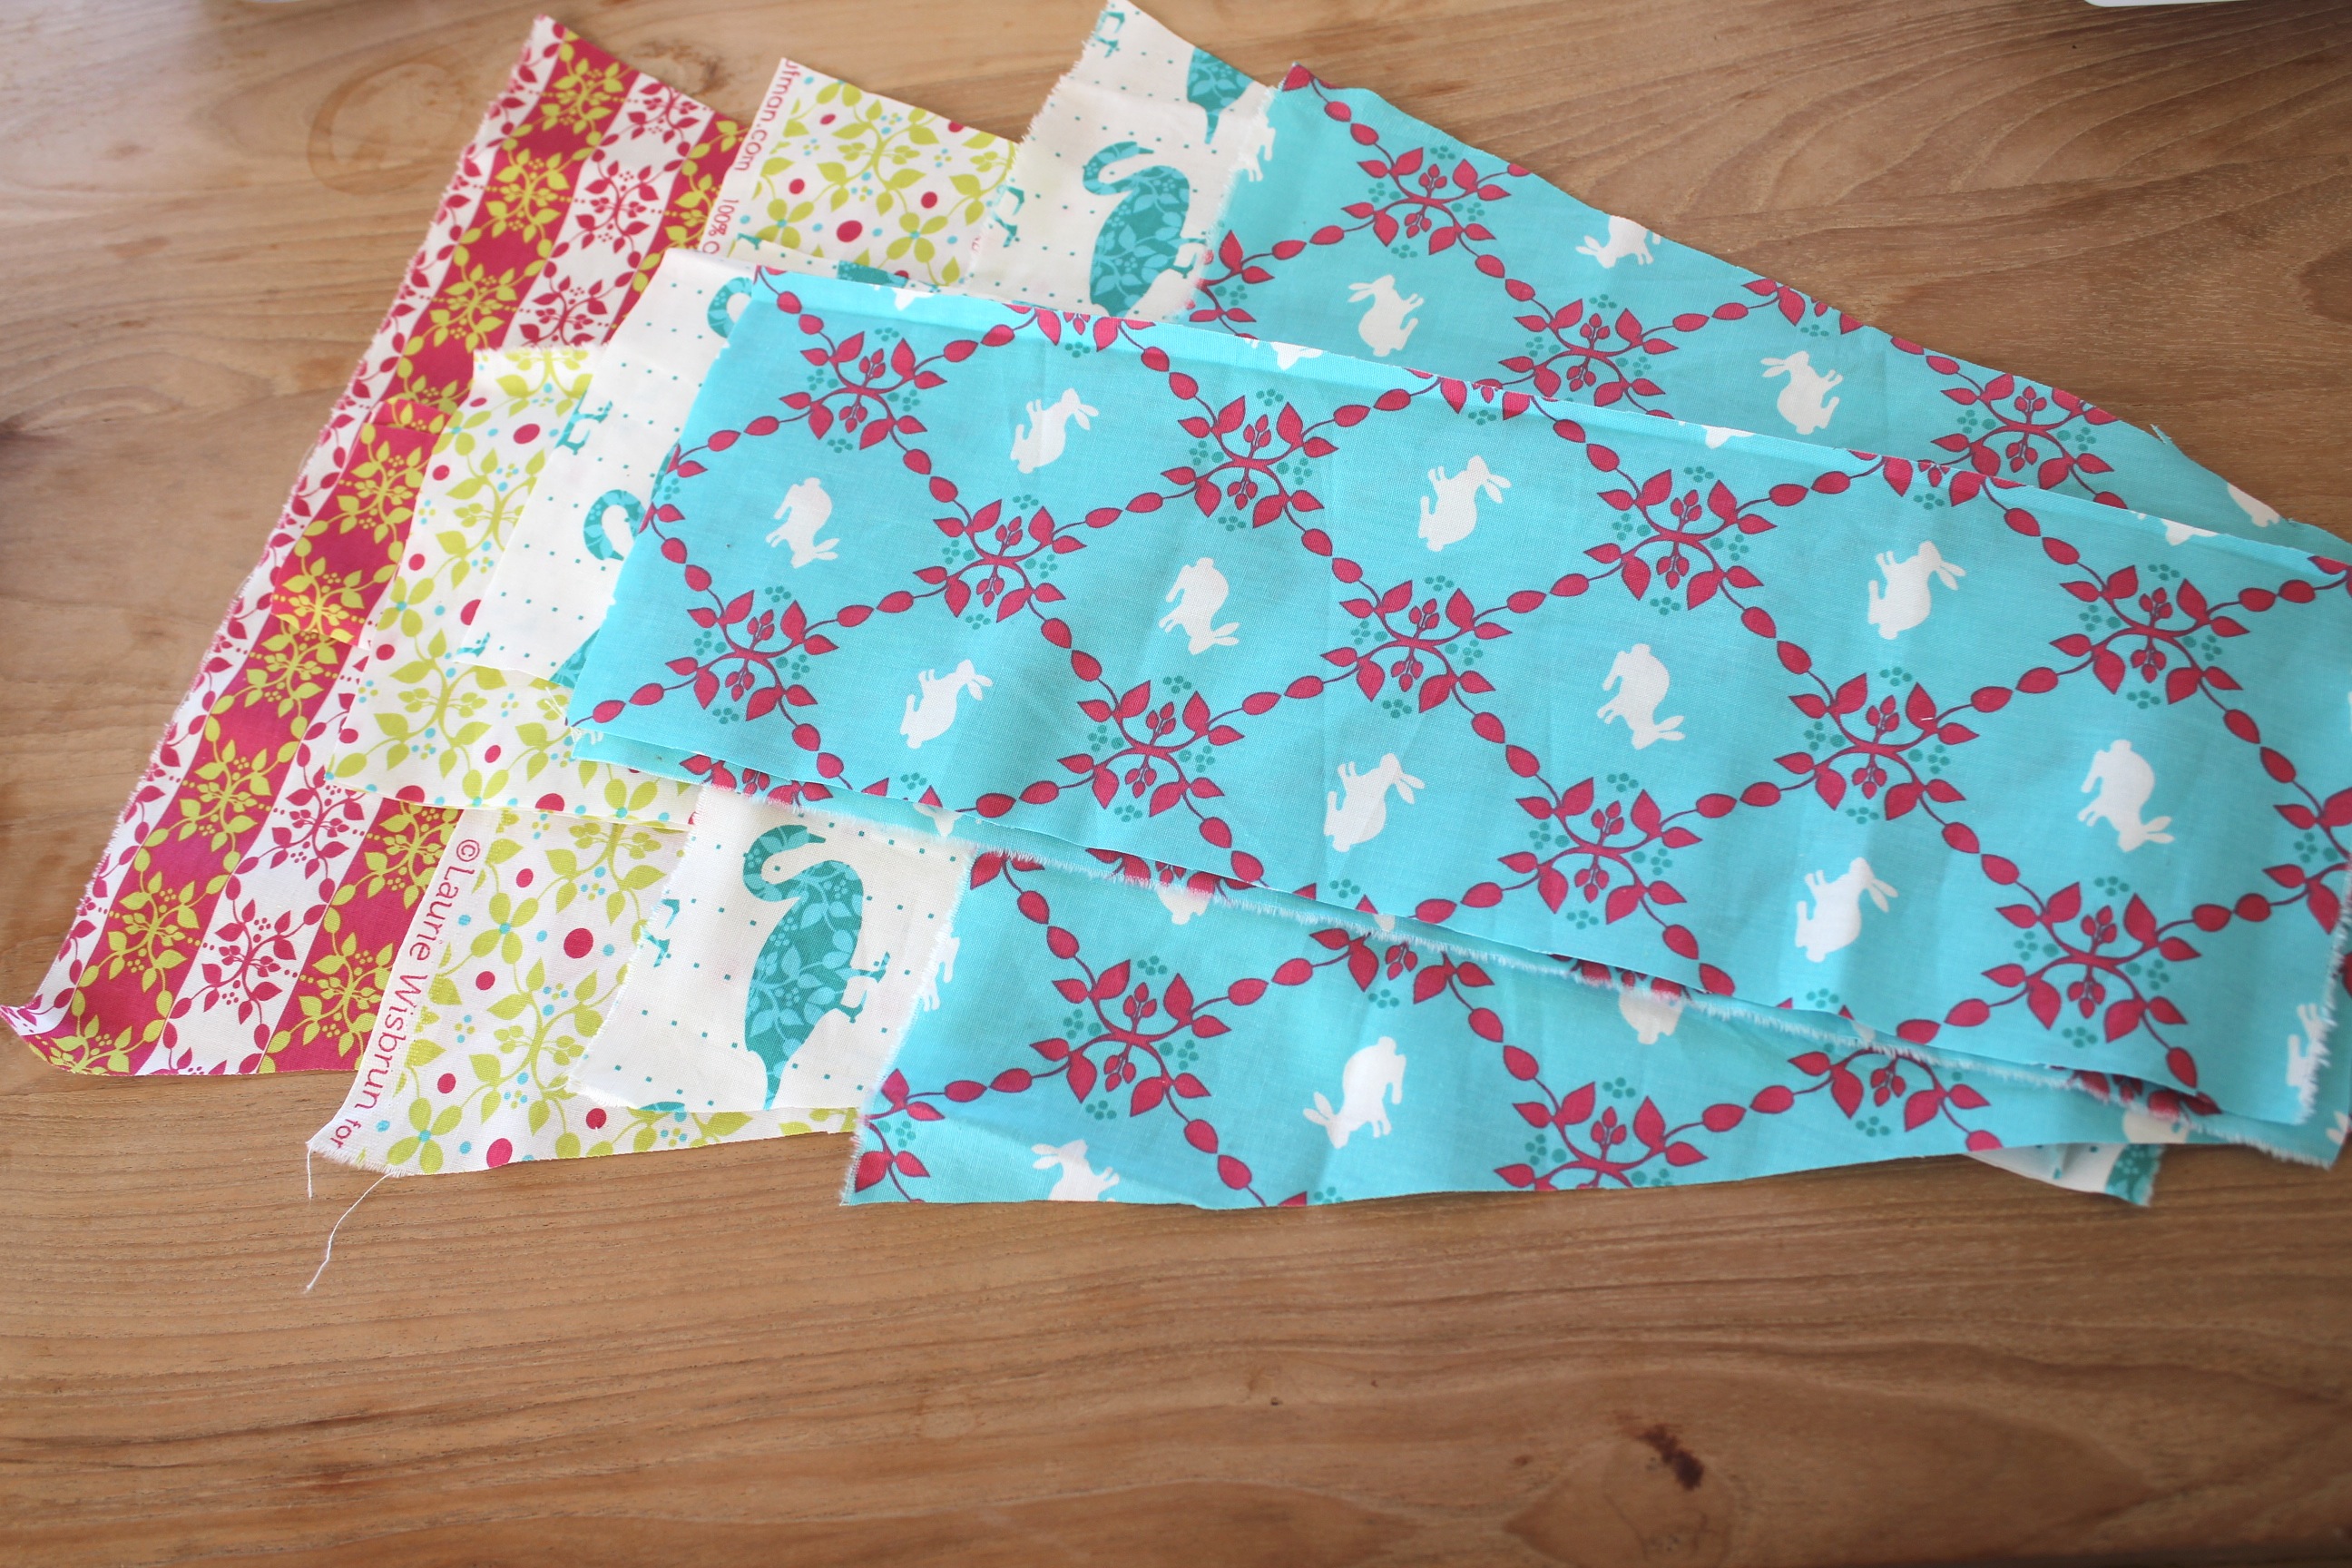
I chose some beautiful material from a local patchwork shop in Geelong, Victoria. The materials were from a collection called Modern Whimsy designed by Laurie Wishbrun for Robert Kaufman. I loved the playful patterns, bright colours and the use of Turquoise… which I wanted as the predominant colour in the new nursery. Oh, and did I mention the distinct absence of pink was also important (that’s watermelon, NOT PINK!!).

I used a piece of A3 paper to cut the pattern for my bunting triangles (drawing the triangle from the corners to the bottom centre of the page). When cutting the pieces of material I added a seam allowance. I also used an old white bed-sheet to cut a back for each triangle. I didn’t want to waste this beautiful material where it wasn’t going to be seen.

For each bunting piece I also cut two rectangles to act as ties for each triangle (so I could attach each bunting to the piece of wood).
So, each bunting piece was a triangle (with a white back) and two ‘straps’. I sewed two sides of the triangle, leaving the top open, but folded/ironed in on itself, to sew in the straps.

Once the straps were sewn in, they looked like this…

I then pinned each bunting along the piece of birch tree, adjusting the length of each strap so that they hung straight (unfortunately trees don’t grow dead-straight!). I used some straps of leather to tie around the wood and hook it to the wall.

I am thrilled with the outcome, and so glad I waited this long to use the beautiful piece of wood – I love it!

My next nursery installment will follow soon, then I suspect I might be a little quiet whilst I attend to our new addition to the family. Here’s a little snapshot of my current state….

Cheers,
Bernice
![]()
![]()
![]()

Tell me what you think…